Tech Talk
Arcam CDS50 Streaming Guide
By Donald Jacobs
Field Support Engineer, Harman Luxury Audio

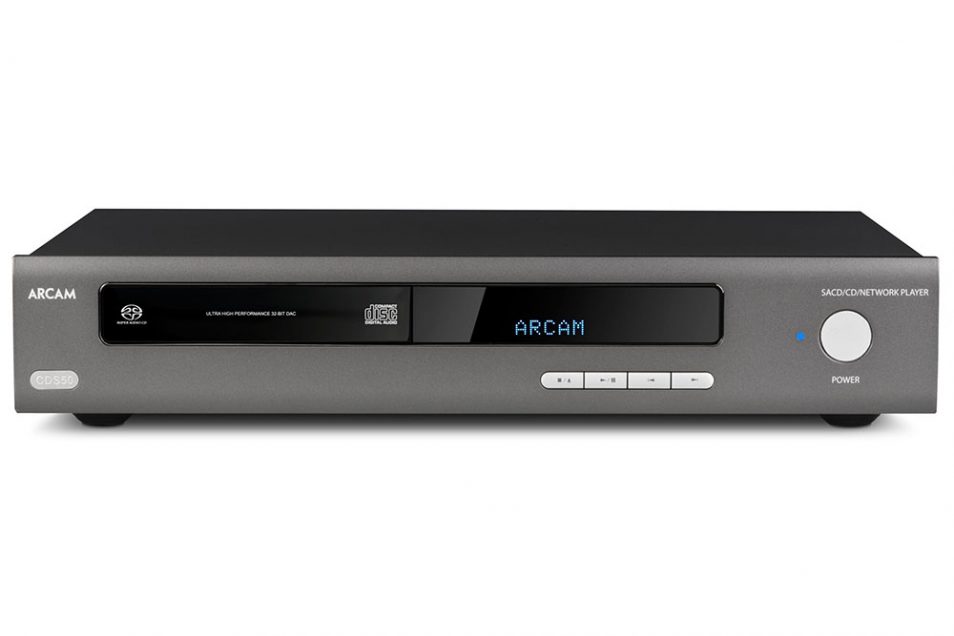
The Arcam CDS50 is not simply something to play your CDs on — it is also able to stream digital audio stored on network hard drives, or your computer via CIFS and UPnP standards. Compatible formats include WAV, FLAC, AIFF, AAC, OGG, WMA and MP3. Controlling the system is the mobile device application MusicLife, which allows you to select from all your content as well as offering top streaming services like TIDAL, Qobuz, Deezer, and Napster (subscription required). Whether you’re listening to your favorite albums, or radio stations and podcasts from across the world, you’re getting your audio in the highest resolution available.
This guide will walk you through the following:
1. Connecting the CDS50 to your network
2. Streaming locally stored audio files from a computer
3. Streaming locally stored audio files from a mobile device
4. Streaming your music services, radio stations, and podcasts
IMPORTANT: Make sure that your CDS50 is running the latest unit software before continuing this guide. The unit may not perform optimally if the software is not up to date. For general functionality and control please refer to your manual as the basic use of the CDS50 will not be covered in this guide.
Connecting the CDS50 to your Wireless Network
1. Be sure the unit is not playing any content and navigate to the HOME screen.

2. Using the arrows on the supplied remote, scroll down to the Settings Menu, and press OK.

3. Network Setup is the first selection, press OK.

4. WiFi is the first selection, press OK. (If you want to use Ethernet, press the down arrow, press OK on Ethernet, and simply plug the cable into the CDS50’s Ethernet port.)

5. Wireless Scan is the first selection, press OK. The CDS50 will scan for available WiFi networks.

6. The VFD will read Wireless Scanning. Upon completion you will see the available WiFi networks. If your network is not the first selection, use the down arrow until you locate your desired network, and press OK.
7. You will need to input the secure password for your network using the up and down arrows to select the correct characters. When you navigate to the correct character, press the right arrow to lock it in place and move to the next character in your password. When all the correct password characters have been selected, press OK, and the unit will now be connected to your network.

Note: If your WiFi password contains capital letters, numbers, and/or special characters, you can access those keyboards by pressing the up arrows until you pass the lowercase alphabet. You will find the uppercase alphabet, numbers, and special characters in that order.
Streaming Locally Stored Audio from a Computer
1. Make sure the computer has UPnP server software installed and configured.
2. Make sure the folders storing your music files are shared.

3. From the Home screen of your CDS50, use the up and down arrows to navigate to Media Browser. The CDS50 will start searching for networked devices on its own.

4. Use the up and down arrows to navigate to your desired media server and press OK.
5. In this menu, you can select the way you would like to view your music files; Albums, Artists, Composers, etc. Highlight your desired view and press OK.

6. Select your desired music file to begin playing.

Streaming Locally Stored Audio Files from a Mobile Device
1. Download the MusicLife application from your associated app store (App Store on iPhone, Play Store on Android).

2. Open the MusicLife app. A prompt will appear asking you to “Allow” access to your files. Selecting “Allow” is mandatory for streaming.

3. The very first streaming option will be your mobile device, this will be labeled with your Device name, select your device.

4. This menu will display Artists, Albums, Songs, Genres, Playlists, Composers, and Compilations. Select your desired view, then select your desired file.

Streaming your Radio Stations, Podcasts, and Music Services
1. Download the MusicLife application from your associated app store (App Store on iPhone, Play Store on Android, see photos in Step 1 of the previous section).
2. Open the MusicLife app, this will take you to the Home page of MusicLife.

3. Select airable streaming from the Home screen.
4. This menu will display Radio (streaming radio stations), Podcasts, TIDAL, Napster, Deezer, Qobuz, and HIGHRESAUDIO.

a. Radio
Selecting Radio will display several options for filtering. Use these selections to choose your desired station, or simply use the search function.

b. Podcasts
Selecting Podcasts will display several options for filtering. Use these selections to choose your desired podcast episode, or simply use the search function.

c. TIDAL, Napster, Deezer, Qobuz, and HIGHRESAUDIO
Select your app from the list; you will be asked to login with your app credentials. Each app’s sub menu will have different options. Select your desired sub menu to navigate to your audio selection, or simply use the search function. (Below is an example of the TIDAL options screen)

We hope you have found this guide to be informative and helpful. As always, please contact [email protected] for assistance with your product.

